Hollie Berries Wedding: DIY Pressed Flower Invitations
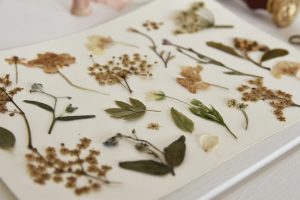
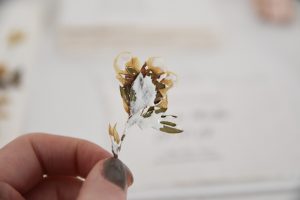
From the moment I began to visualise the theme of our wedding, I knew that flowers were going to play a big part. Foraged, natural and wild – just the way I like them! We had chosen our venue which suited this perfectly, a country estate nestled among acres of hills and forest in the breathtakingly beautiful Cairngorms National Park. On the estate we could have our ceremony in the tiny 15th century chapel then move on to the Victorian ballroom for the reception, everything about it was absolutely perfect. After we were all booked up and the date was set it really began, the wedding crafting! The first thing I made was the save the dates followed by the wedding invitations, the first opportunity to share the theme and set the tone of the wedding. I knew exactly how I wanted to create these so I began picking and pressing wildflowers to craft my pressed flower invitations with.

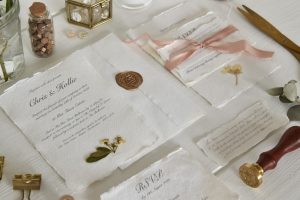
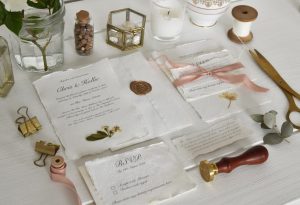
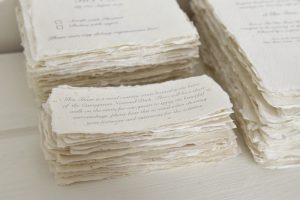
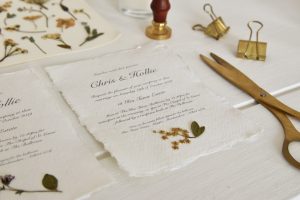
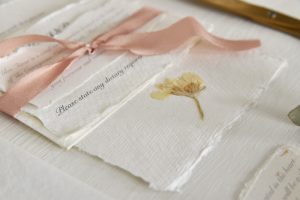
After a few weeks in-between paper in heavy books, the old fashioned way, the wildflowers were perfectly pressed and ready for crafting! I bought thick handmade paper and and matching envelopes from Etsy to make them with, just carefully bending and tearing the paper down to size for a rugged edged antique feel.
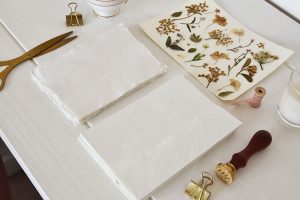
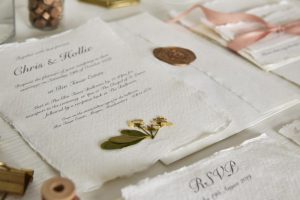
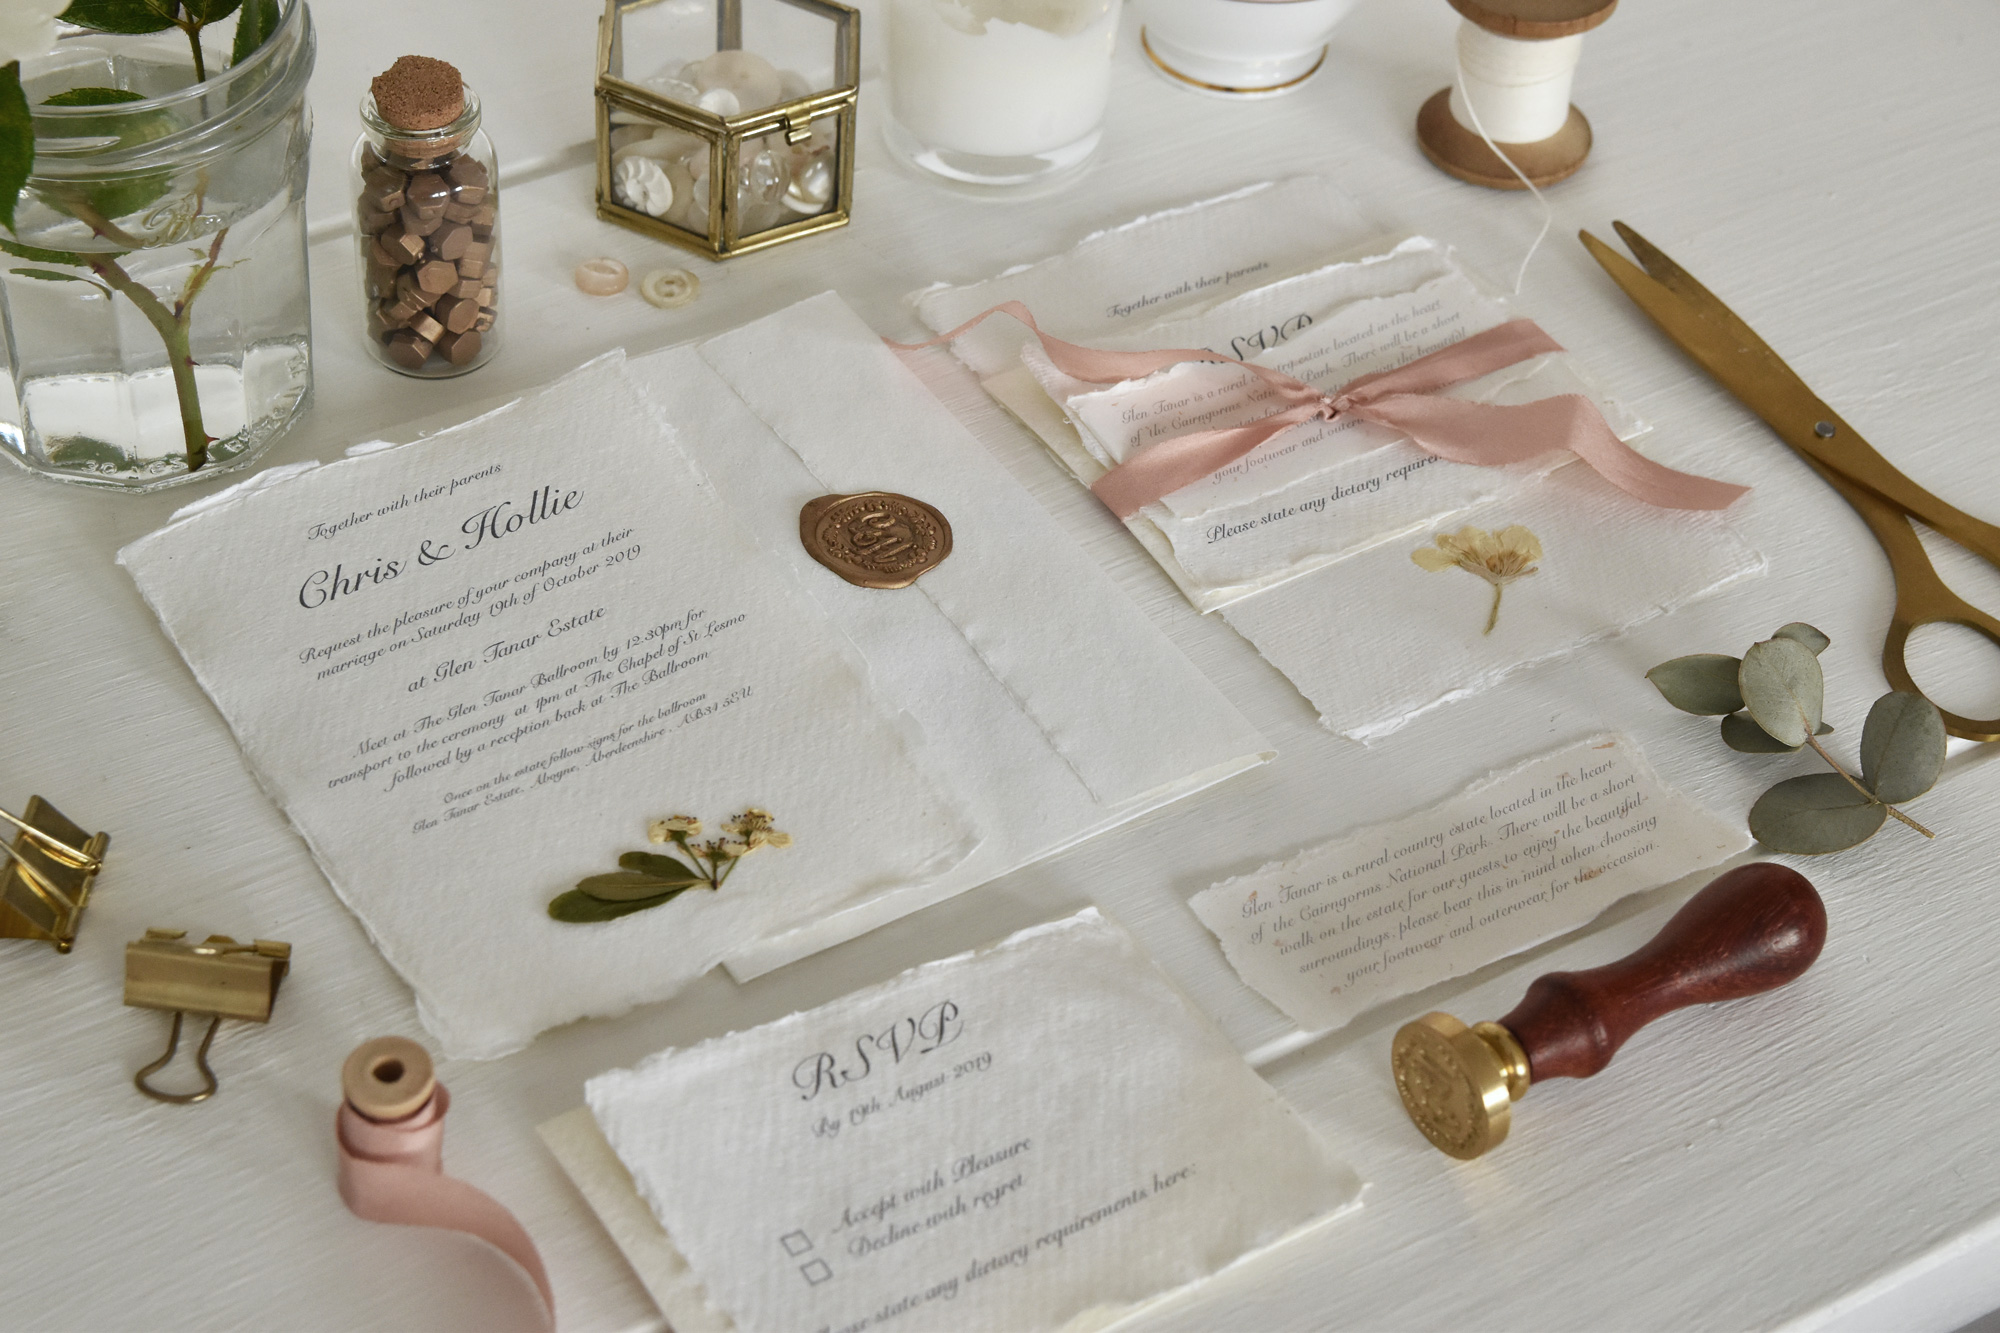
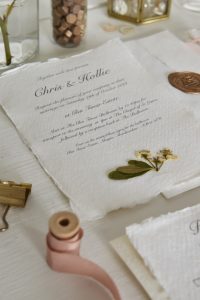
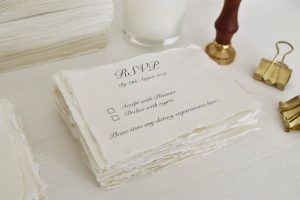
Firstly I typed out the wording of our pressed flower invitations and printed them off on plain paper to make sure they were the right size, font and format before printing them out on the good paper. Along with the main invite there was also an rsvp slip with a return envelope, and an extra information card which I printed out too just by using the printer and the same font. I left a little space at the bottom of each invitation where I planned for the pressed flower to go. Once everything was printed out I organised them into separate piles and sat everything aside whilst I got on with the sticking.
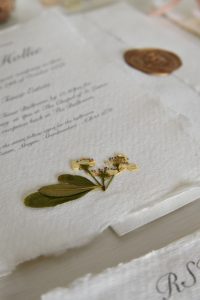
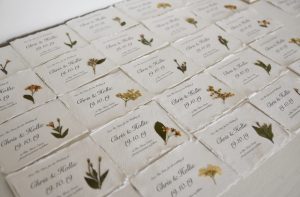
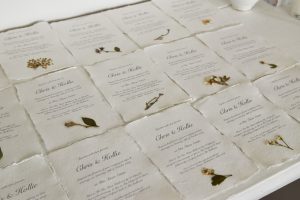
Using good quality craft glue I carefully stuck a pressed flower onto each invitation in the space I had left, using a cotton bud to gently press them down into place. I love that every single invitation had its own unique wildflower meaning no two invites looked the same!
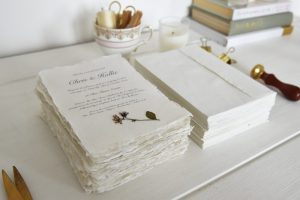
As the glue was drying on the wildflowers, I ran each envelope through the printer with each guests address on it. It was much more time efficient to type them out rather than hand write each individual one, and was a lot more ascetically pleasing too! After all, the envelope is the first thing the recipient lays their eyes on so neatness is very important! Once each envelope was printed I added the guests name to their rsvp slip and gathered one of each paper for their envelope, tying it together with hand dyed silk ribbon in dusky blush pink which would be the colour of the wedding.
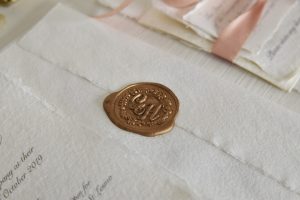
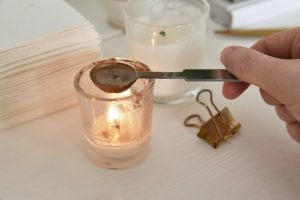
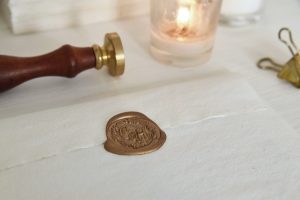
The last but possibly the loveliest step of the pressed flower invitation making was sealing the envelopes with a wax seal. I bought a personalised wax seal stamp from etsy with both of our initials ‘C&H’ on it in the same script font that I used on the invitations. I chose an antique gold wax to go with these as it went beautifully with the dusky blush ribbon and it was fitting for the decor of the venue. A few pellets of wax are melted in the metal spoon by holding it above a candle. The melted wax is then poured straight onto the envelope and quickly stamped, holding it for a few moments until the wax sets. Time consuming when there are hundreds to do, but well worth the effort in my opinion!
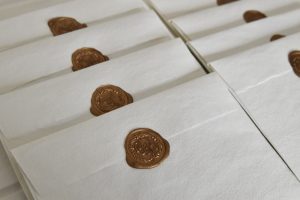
Hand making the pressed flower invitations was a slow process, but a very satisfying one! By hand crafting them I could have them exactly as I wanted and could make sure every little detail was squeezed in. Off they went in the post and the sense of excitement I felt was just amazing. Soon after, they started arriving on friends doorsteps and the lovely reactions and shared excitement kept my phone pinging non stop for days as they landed up and down the country! Now that the invitations were out the wedding excitement was really building. It was time to decide what the next wedding craft would be, and crack on with it!
Hollie x