Updating Vintage Prints with a DIY Mount
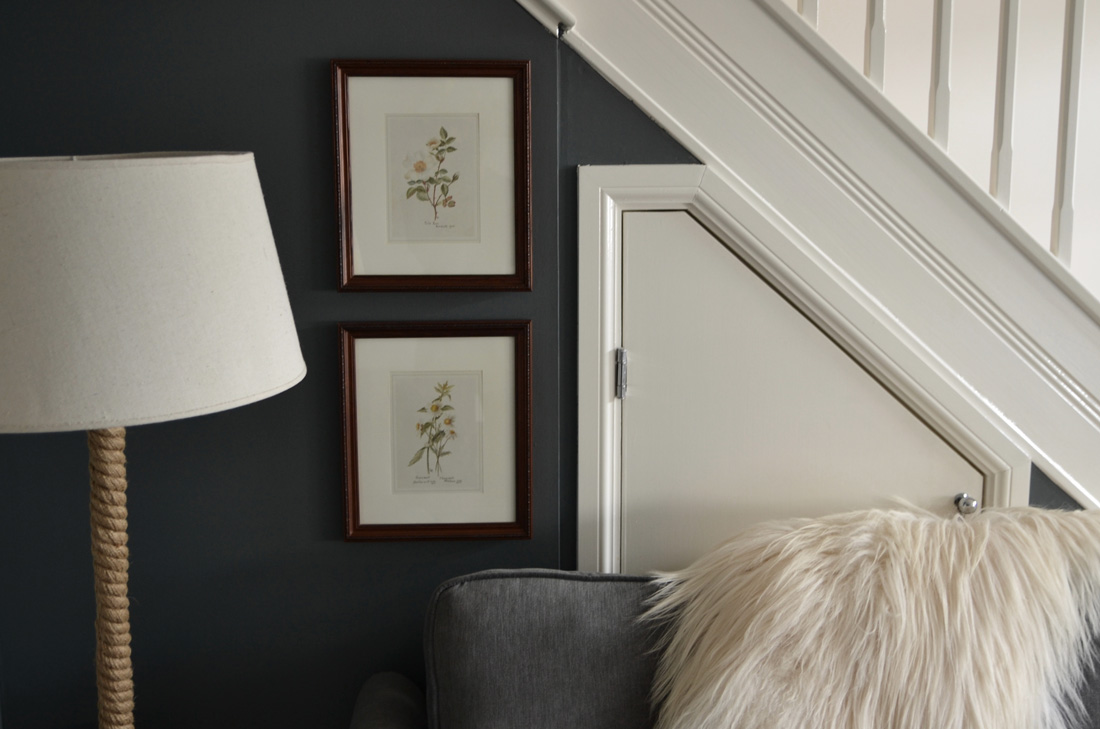
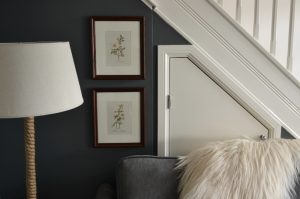
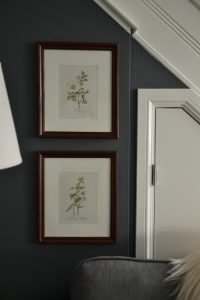
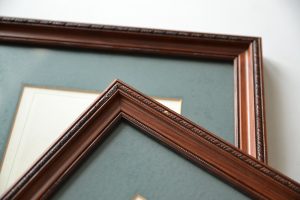
It goes without saying that I love a good rummage in the charity and vintage shops. Some of my favourite homeware pieces are things I’ve found on dusty shelves, unloved and just waiting for me to take home! When thrift shopping like so, you’ve got to be open minded and look past small details that might actually be easily updated, making something most people might dismiss a piece of potential treasure for you. Something I always keep an eye out for when thrift shopping is prints and frames. There’s always room for some more in our house and having a really varied selection is what makes a gallery wall look so eclectic and wonderful! Recently I stumbled upon this pair of gorgeous framed botanical prints in a charity shop that were shoved in a box and labeled a mere £3 each, score! All they needed was a new mount and a little TLC to be perfect for a corner of the living room that I’d been looking to complete. Updating vintage prints is a great DIY hack and here I’ve shared how easy it is to make a simple mount and update an old picture to suit your style!
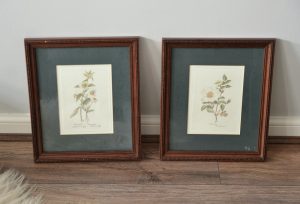
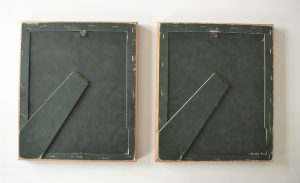
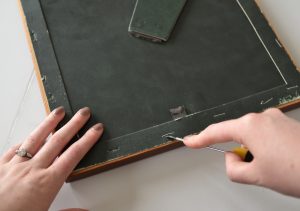
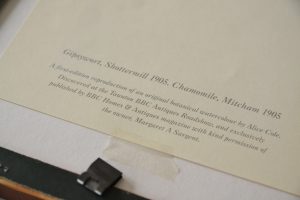
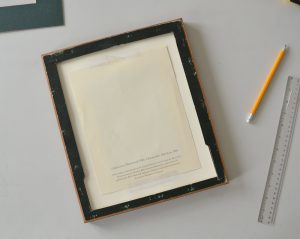
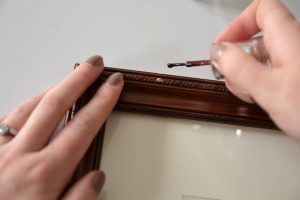
Step 1. Firstly flip the pictures over to take the backs off. All will be different, but as these ones were pretty old the backings were stapled into place which can easily be removed with a thin screwdriver and some pliers. When I lifted the first back off it revealed a lovely little piece of information about the prints and where they came from which was an added bonus!
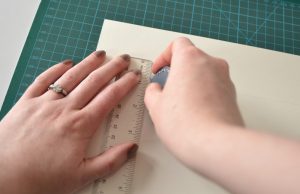
Step 2. To make the mount simply line up the old one with the edges of the card that will be your new one, and draw around all of the edges with a sharp pencil.
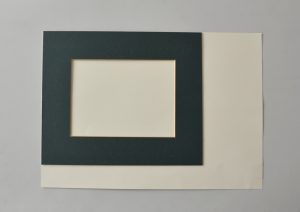
Step 3. Use a cutting board, craft knife and ruler to carefully go along the pencil lines which will cut out the mount giving it a clean, straight edge.
Step 4. Clean your glass with hot soapy water then buff dry. Place the glass back in then pop the mount into your frame. Place the print back in and use a piece of tape at each side to hold it into place.
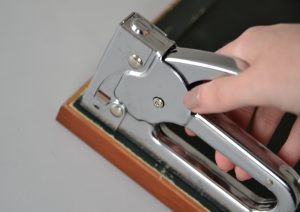
Step 5. If the picture backs were stapled on then use a staple gun to staple it back into place.
Step 6. Chipped frames? No problem! Simply use a varnish to go over any missing areas until they are no longer noticeable.
And in a very budget friendly few simple steps just like that, you could revamp something old and drab into something completely new and lovely! Updating vintage prints is a great way to upcycle and give a new lease of life to something old. So what are you waiting for, I can here some treasure hunting calling you!
Hollie x