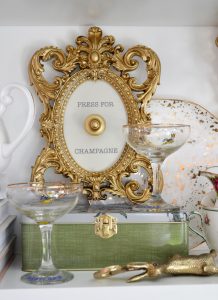
Press For Champagne Decorative Button D.I.Y
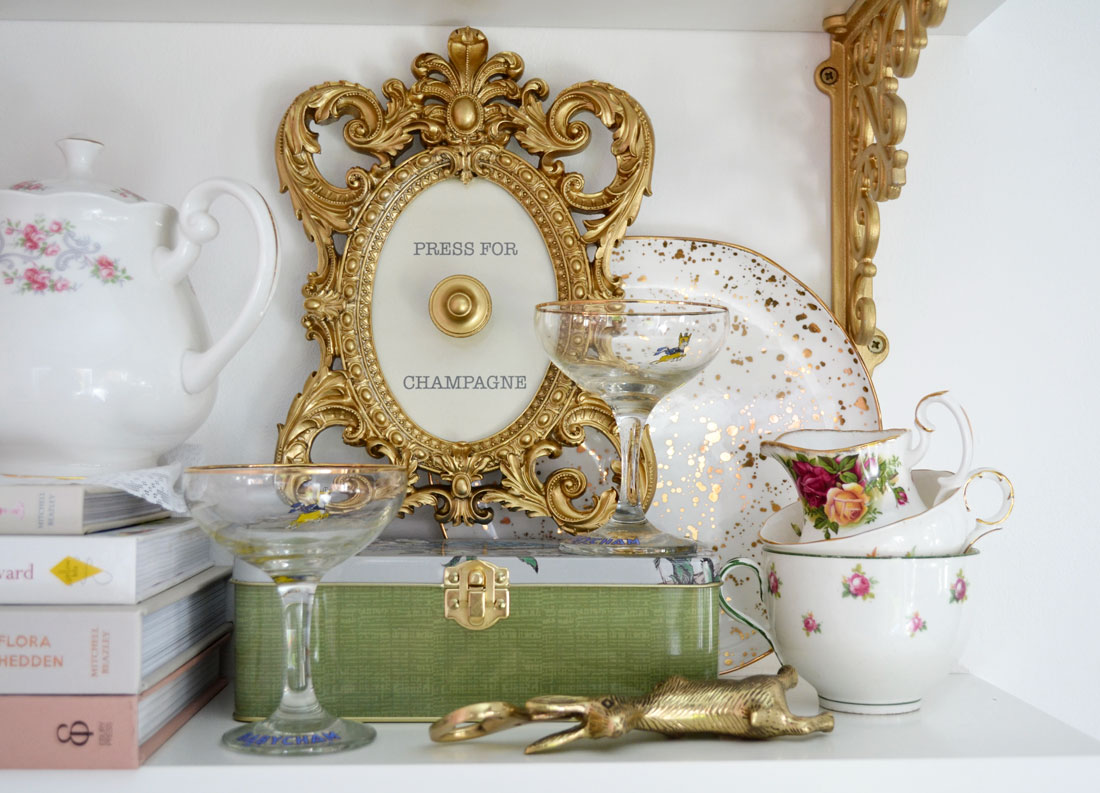
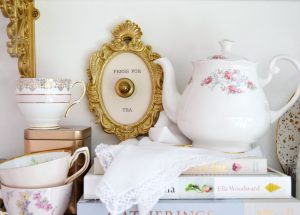
To press a button and be brought a glass of ice cold bubbling champers is something most woman dream of. This one sadly might not come with a butler, but it’s so easy to make adding instant vintage glamour to your drinks area! And why stop at Champagne? Being the serious tea consumer that I am I just couldn’t resist making a little ‘Press for Tea’ button also. You can get creative with your wording and make one for just about anything!
You will need:
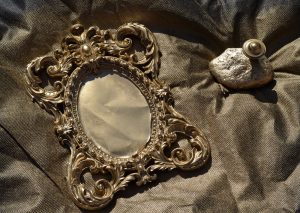
An ornate style photo frame
Gold spray paint
A glue gun or strong craft glue
Something to act as a bell press such as a door knob or button
A sheet of card
You will also need a printer, scissors, a pencil and a dust sheet for this project.
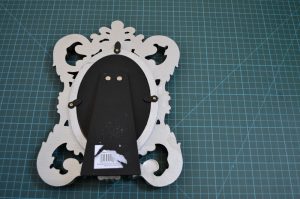
Step 1. Firstly, if you are going to be hanging your finished champagne button on a wall you will want to remove the frame stand. Turn frame on its front and use scissors to take it off. If you are going to keep your frame sitting on a shelf for example, you can skip this step!

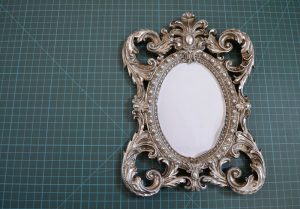
Step 2. Next you want to remove the glass from the frame before spray painting. Some frames have removable glass and some is stuck in place, the one I bought from The Range is stuck down so I just trimmed down the paper insert and placed it on top of the glass to protect it from the gold spray.
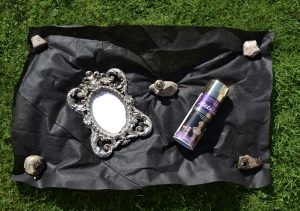
Step 3. Take your frame and button where you have plenty of space, outside if possible, and pop them on a ground sheet before giving a good coat of spray paint. I used a door knob picked up in a hardware shop for my button and didn’t mind about the colour as I was going to be spray painting it anyway. Leave them to dry for at least an hour then have a good look to ensure you haven’t missed any spots! Once dry, remove the protective paper or replace the glass if you had to remove it for spraying.
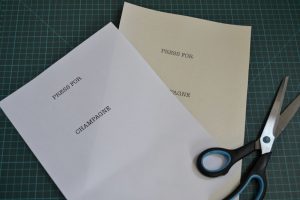
Step 4. Now to print your wording! On a computer, open a new document and create a text box the size of your photo frame. Choose your font (I went for my fave, American Typewriter!) and centre your wording leaving a space big enough for your bell press button in the middle. Print it out on paper to make sure you are happy with the positioning first, placing it behind the frame with the bell press in the centre before printing onto your nice card. Once you are happy with it then print it out and use the frame as a template to cut it down to size and slip it inside your frame. I went for a ‘champagne’ coloured card which I had to cut down to A4 size first and for my Press For Tea one I used a light pink card. You could try a patterned card which would look fab!

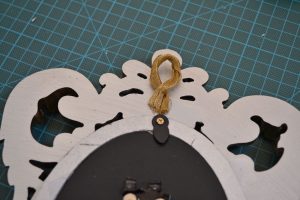
Step 5. Now as this frame was meant for standing it didn’t come with a wall hook attached. This is easily resolved though, just glue a piece of string or wired ribbon near the top in a loop to hang it with. Once that is dry flip it round to the other side and using your glue gun or strong glue, stick down your button bell press into position. I just judged the positioning by eye but if you want to be exact you could easily measure it. My glue gun is by far one of the best and most used things I ever got for crafting and D.I.Y and at only about £10 it was beyond worth it, I can’t recommend getting one enough! It dries incredibly quickly and is very easy to use.

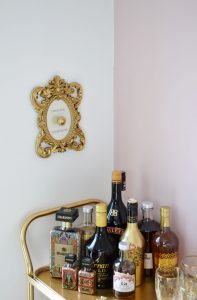
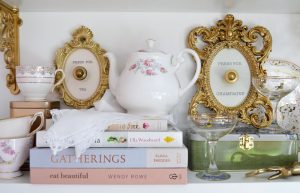
Once your glue is completely dry you are ready to put your new Press For Champagne button into place! Mines is now hanging in pride of place beside my vintage bar cart, while my Press for Tea button is propped up on the tea shelf!
All in all the total cost of this D.I.Y was about £16, which is significantly less than I’ve seen them for sale online for! When it’s so much more fun to make it yourself, why wouldn’t you?! And why stop there – your favourite cocktail, prosceco and coffee would be great also made into ‘Press For’ frames, it just depends on your tipple of choice!
Happy crafting!
Hollie x