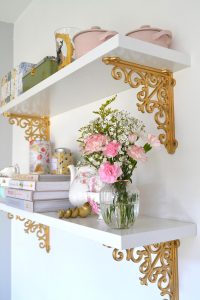
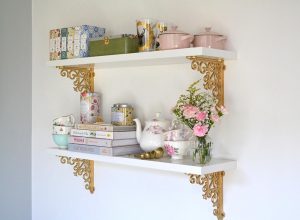
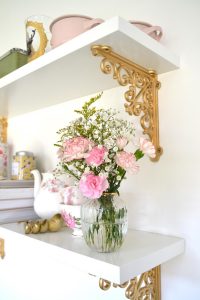
D.I.Y Ornate Kitchen Shelves
After years of living in various rented properties, the littlest thing like being able to paint however many walls I like and being able to hang shelves wherever I fancy is a complete JOY to me now that I can! I’ve always been a house proud kinda gal so I’m just having the best time making our first house together a home and being able to bring all my house ideas to life.. After running them by Chris of course!
I had been searching for new kitchen shelves for a while and was looking for something with brass or gold ornate style fittings, but I wasn’t seeing anything that I totally loved, so I took matters into my own hands and decided to D.I.Y myself some with a bit of gold spray paint. I’m a bit of a spray paint enthusiast and am forever spraying baskets, furniture and general house bits! It’s so quick, easy and works well on most things. You can get so many different colours and finishes nowadays at most D.I.Y and craft shops which makes it even easier to get creative.
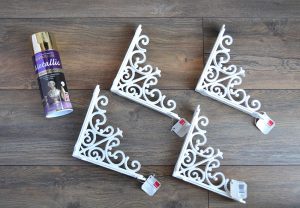
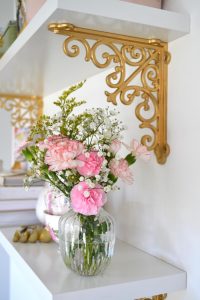
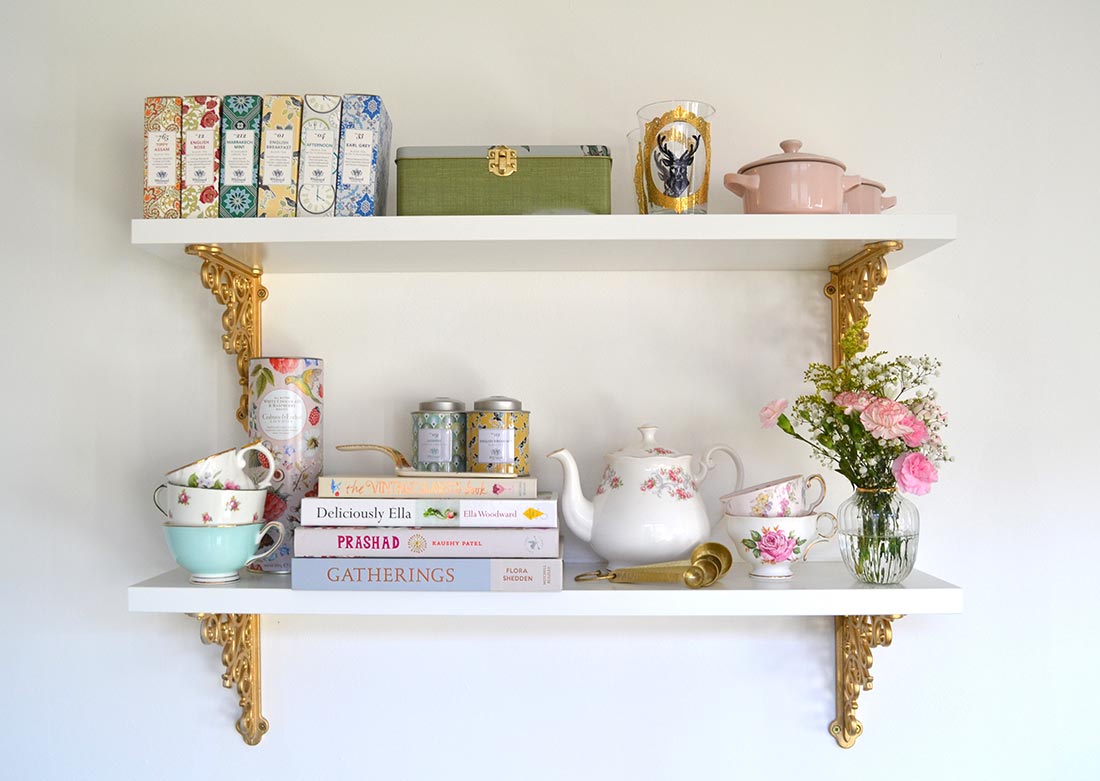
I found these white metal brackets at B&Q that I really liked, and thought they would look fab with a white shelf on top. I went for two of these basic white IKEA shelves as the measurements were the perfect size for the spot where I wanted them to go. The spray paint I chose for the project was Rust-Oleum metallic spray paint in the shade ‘Bright Gold’, perfect for that brassy gold finish I was looking for!
Here’s how I done it if you fancy a try at it yourself!
Step 1. Place your chosen brackets on an old sheet or some newspaper, or an old tea towel in my case! I recommend doing your spray painting outside to avoid any flyaway paint accidents. If you are doing it indoors make sure you have lots of room and have completely covered the floor.
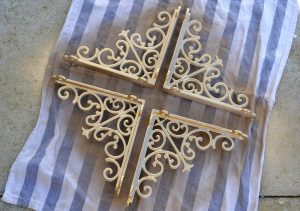
Step 2. From a distance of about 30cm give your brackets their first spray, moving around to ensure you have covered all angles, nooks and crannies. Leave to dry for about an hour then flip them round with the un-sprayed side now facing you and spray the rest, completely covering the rest of the brackets. Once dry, give them a close inspection to make sure you haven’t missed any areas, particularly if they have an intricate design. If there is any of the original colour showing through, just give them another little spray where necessary then leave again until completely dry.
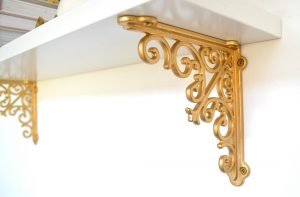
Step 3. Now that your beautiful brackets are ready they are good to go and can be attached to your shelf and hung. I allowed a 1cm space from bracket to edge of shelf but it will work with slightly more, and is dependent on what kind of shelves you choose to pair your brackets with.
My new kitchen shelves are exactly what I’ve been looking for and I absolutely love them! I hope they’ve inspired you to do a little bit of D.I.Y and shown you how easy it is to give something an update with a touch of spray paint. Now, Chris has just agreed for me to paint the kitchen wall dusky pink so I’m off to buy the paint before he changes his mind!!
Hollie x